Hydraulic Arm Activity Pack
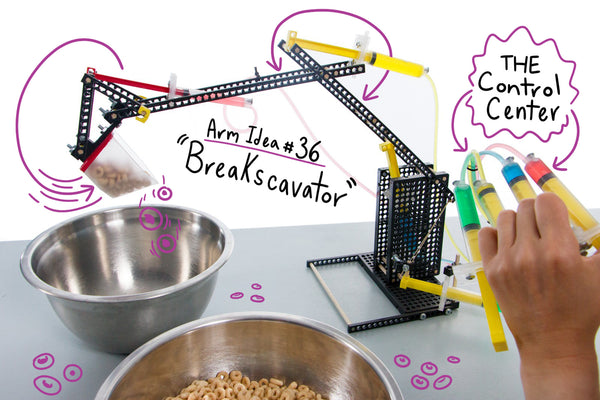
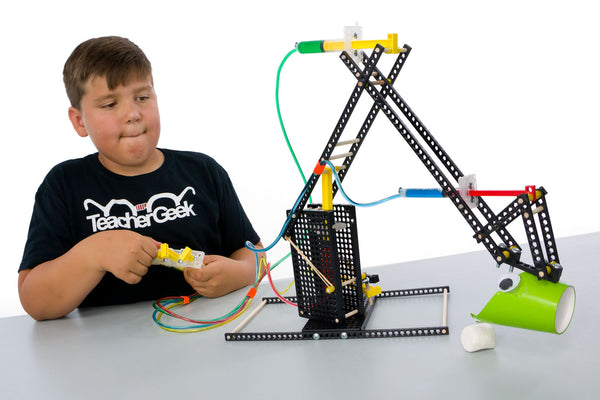
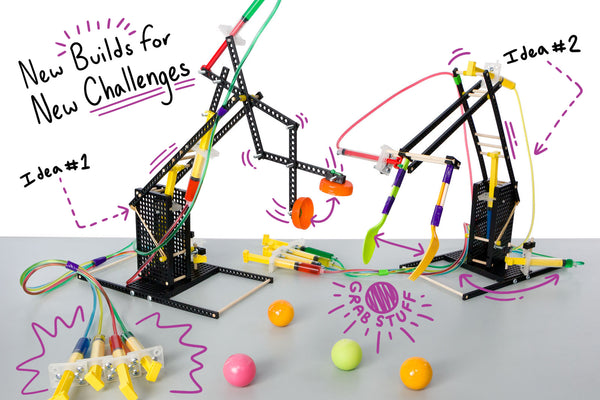
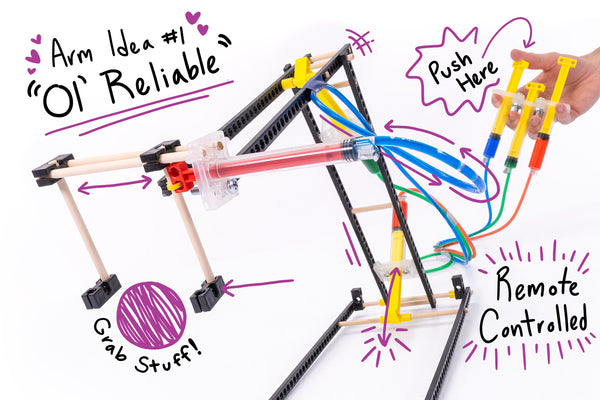
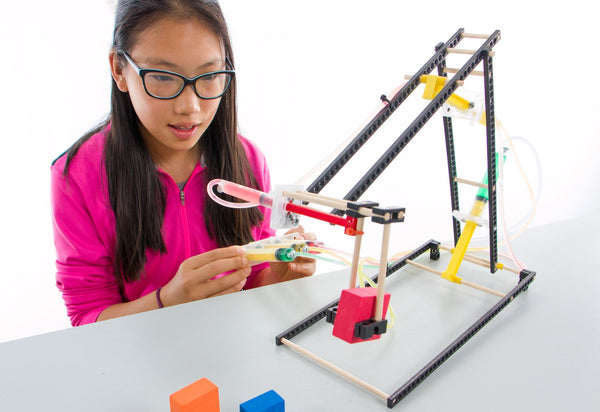
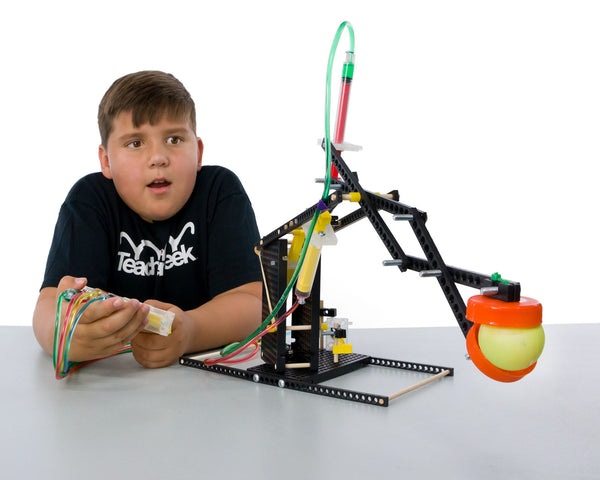
Build yourself a third arm! This is a pretty incredible hydraulic powered remote-controlled arm. Use it to pick up your room, eat snacks, stack blocks, play a game, or battle against other hydraulic arms -some of these tasks may be easier than others to complete!
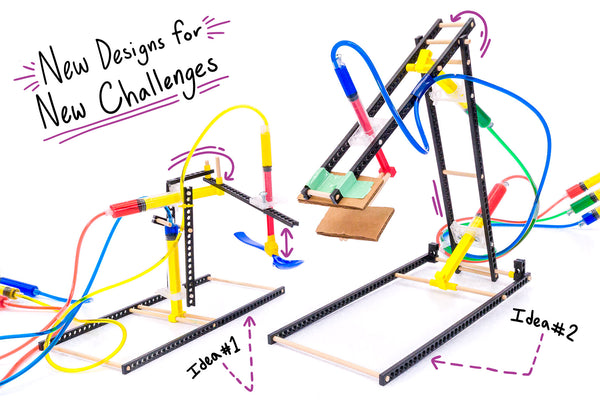
The arm is built totally by you, from scratch! You construct it by measuring, cutting, reaming holes and tapping. This arm is "advanced," because it has 8 cylinders (4 cylinders move the arm, 4 cylinders form the control panel), and it has parts to make it into almost anything you can imagine. Build it using the instructions, then re-engineer it! Create your own unique design, incorporating recycled materials or anything else you can find. It comes with plenty of extra components included to help you change and create something completely new. Try re-engineering the arm so it can pivot at the base!
Hydraulic Arm Educational Goals
- Utilize the design and engineering process
- Encourage creativity, critical thinking and problem solving
- Learn about simple machines and fluid power
- Apply math skills and scientific concepts
- Innovate (Design, build and evolve your own unique arm)
Become an inventor! Design and engineer your own hydraulic arm!
Completing the
Advanced Hydraulic Arm Activity
with Ages 7-11
For ages 12 and up, click here

If you are working with ages 7 to 11, start with the Build Guide, then, move on to the Engineering Challenge.
MS Word or PDF - Which document format should you download? Always download the PDF document, unless you want to edit/change it. If you want to edit/change the document, download the MS Word (Microsoft Word™) version.
Build Guide
Start by building your hydraulic arm using the Build Guide. This will be a great design to get you started. You’ll start to create your own amazing designs during the engineering challenges.
- Basic Build Guide: PDF or MS Word --Use this Guide if you’ve purchased the Basic Hydraulic Arm.
- Advanced Build Guide: PDF or MS Word
Engineering Challenge
- Design & Engineering Challenge: : PDF or MS Word -- Engineer your End Effector to dig, stack, and play games. Are you ready?.
Optional Resources
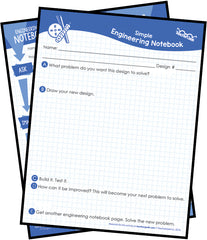 Download the TeacherGeek Engineering Notebook
Available at two different learning levels, the TeacherGeek Engineering Notebook is designed to help students cycle thru the Design & Engineering Process and help them innovate and invent new designs. Use an Engineering Notebook page for each iteration of design. It is recommended that extra pages are printed and on-hand during activities.
Classroom Overview
- Classroom Overview: PDF or MS Word--A brief overview of TeacherGeek documents, activity procedures, educational alignment standards, concepts, vocabulary, background information, and supplementary resources.
STEAM Market-It Challenge
Add the STEAM Market-It Challenge to any completed TeacherGeek activity to teach students how to turn their TeacherGeek design into a retail product. Students will learn the 4 'Ps' of marketing - Product, Placement, Price and Promotion. Students have the option of completing a commercial, a billboard or retail packaging as a summative assessment.
Completing the
Advanced Hydraulic Arm Activity
with Ages 12 and Up
For ages 7-11, click here

If you are working with ages 12+, you can choose how to complete the Gears & Pulleys Activity.
- Choice #1 Without Labs: Go straight from the Build Guide to the Engineering Challenges. This option works well when you’re doing the activity outside of a classroom, in a Makerspace, as a self-directed activity, or just for fun.
- Choice #2 With Labs: Start with the Build Guide. Once your hydraulic arm is built, an Optional Lab is available to explore hydraulic and pneumatic power. You can apply this knowledge to the Engineering Challenge. This option works well when you want to teach this activity to a class or during a class visit to a Makerspace.
MS Word or PDF - Which document format should you download? Always download the PDF document, unless you want to edit/change it. If you want to edit/change the document, download the MS Word (Microsoft Word™) version.
Build Guide
Start by building your hydraulic arm using the Build Guide. This will be a great design to get you started. You’ll start to create your own amazing designs during the engineering challenges.
- Basic Build Guide: PDF or MS Word --Use this Guide if you’ve purchased the Basic Hydraulic Arm.
- Advanced Build Guide: PDF or MS Word
Optional Labs
Explore the power behind fluid dynamics and creating mechanical advantage. (Suggested Grade Levels: 7-12)
- Fluid Power Lab (Imperial Units): PDF
- Fluid Power Lab Answer Key (Imperial Units): PDF --Password protected.
- Fluid Power Lab (Metric Units): PDF
- Fluid Power Lab Answer Key (Metric Units): PDF --Password protected.
Engineering Challenge
- Design & Engineering Challenge: : PDF or MS Word -- Engineer your End Effector to dig, stack, and play games. Are you ready?.
Optional Resources
 Download the TeacherGeek Engineering Notebook
Available at two different learning levels, the TeacherGeek Engineering Notebook is designed to help students cycle thru the Design & Engineering Process and help them innovate and invent new designs. Use an Engineering Notebook page for each iteration of design. It is recommended that extra pages are printed and on-hand during activities.
Classroom Overview
- Classroom Overview: PDF or MS Word--A brief overview of TeacherGeek documents, activity procedures, educational alignment standards, concepts, vocabulary, background information, and supplementary resources.
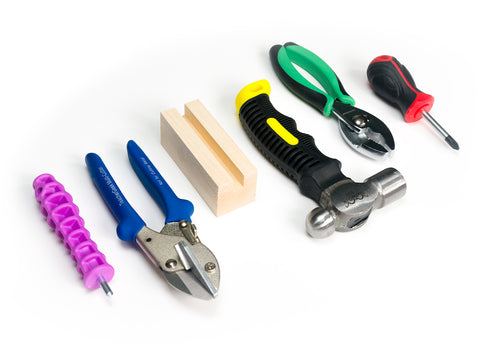
TeacherGeek Tools You'll Need
What tools will you need to do this activity?
|
Process Description |
Recommended Tool |
Alternate Tool |
|
Cutting dowels, strips, recycyled items, etc |
Saw, Pruning Shears |
|
|
Tighten and loosen screws |
|
None |
| Reaming | #3 Drill Bit and Drill |
Sets of tools can be found here.
Make your Advanced Hydraulic Arm even better by incorporating recycling bin material. 
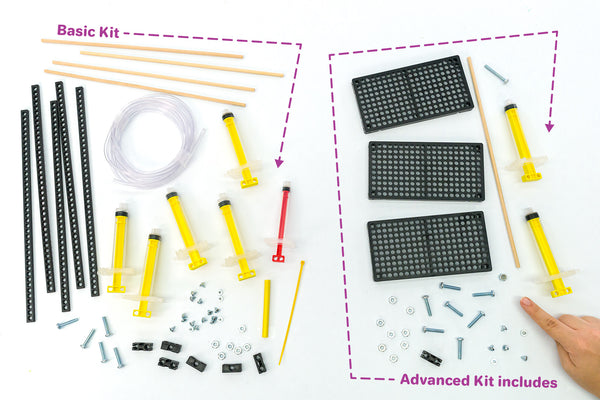
Basic Hydraulic Arm Components
What's in the Basic Hydraulic Arm Activity?
|
Component: |
10pk Quantity: |
Single Quantity: |
|
Connector Strips |
100 |
6 |
|
Perpendicular Blocks |
100 |
7 |
|
14ml Cylinder Assembly |
50 |
5 |
|
4.5ml Cylinder Assembly |
10 |
1 |
|
Cylinder Screws |
180 |
20 |
|
Slide Stop, 300mm |
3 |
1/4 (75mm) |
|
Hex Nuts |
80 |
8 |
|
1” Screws |
80 |
6 |
|
Dowels |
80 |
5 |
|
Vinyl Tubing 100ft. |
1 |
1/10 (10ft.) |
|
Cable Ties |
20 |
4 |
Advanced Hydraulic Arm Components
What's in the Advanced Hydraulic Arm Activity?
| Component | 10pk Quantity: | Single Quantity: |
| Connector Strips | 80 | 8 |
| Dowels | 80 | 8 |
| Tubing | 30M (100ft) | 3M (10ft) |
| Perpendicular Blocks | 100 | 10 |
| Hole Plates | 30 | 3 |
| Slide Stop 300mm Sections | 3 | 1/3 (100mm) |
| 1.5" Screws | 10 | 1 |
| 1" Screws | 140 | 14 |
| Cylinder Screws | 240 | 24 |
| Hex Nuts | 160 | 16 |
| Locking Hex Nuts | 10 | 1 |
| Rubber Bands | 100 | 10 |
| Cable Ties | 20 | 2 |
| 14ml Cylinder Assembly | 70 | 7 |
| 4.5ml Cylinder Assembly | 10 | 1 |
This is an educational product and not a toy. It is intended for use by ages 9 and above with adult supervision.
Science, Math & Engineering Standards
TeacherGeek products fit proposals, grants or lesson plans with ease! Explore more resources below:
Next Generation Science StandardsNGSS Standards Download - PDF
NGSS Standards Spreadsheet - Editable /Searchable Excel Sheet
International Technology & Engineering Educators' Association Standards
ITEEA Standards Download - PDF
ITEEA Standards Spreadsheet - Editable/Searchable Excel Sheet
